EPASS Client Installation
Follow these steps to install EPASS on a client terminal.
Run Setup.Exe
-
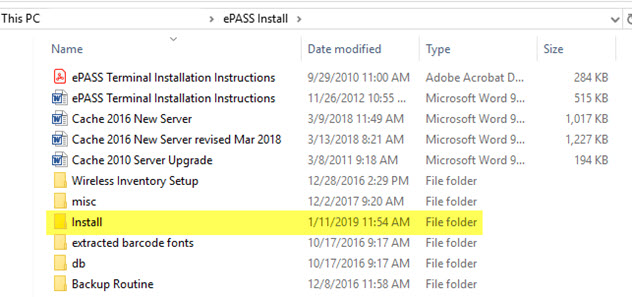
Open the EPASS updates folder and double-click the Install sub-folder.
-
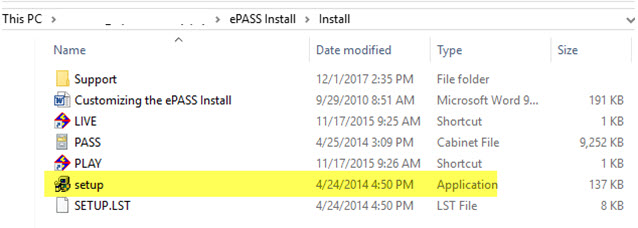
Double-click setup.exe.
-
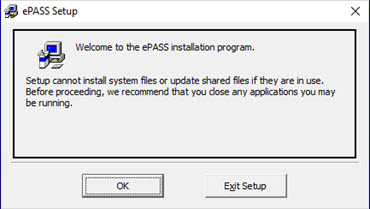
At the prompt, click OK.
-
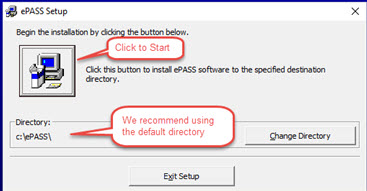
Click the Start Install button.
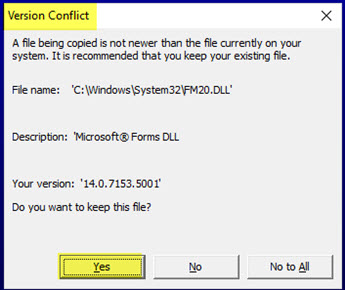
EPASS installation should take 1–2 minutes to complete. If you get a “version conflict” message during the install, click Yes to keep the file currently on your system.
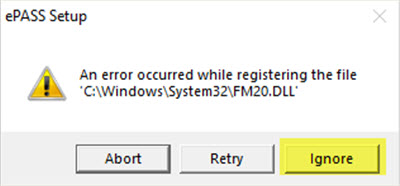
If you receive any file registration errors, click Ignore.
Verify the Update Path
-
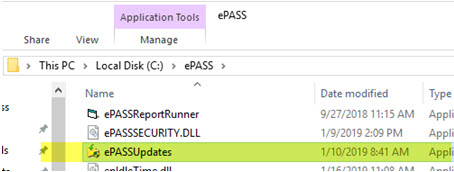
In the EPASS folder (c:\EPASS), double-click EPASSUpdates.
-
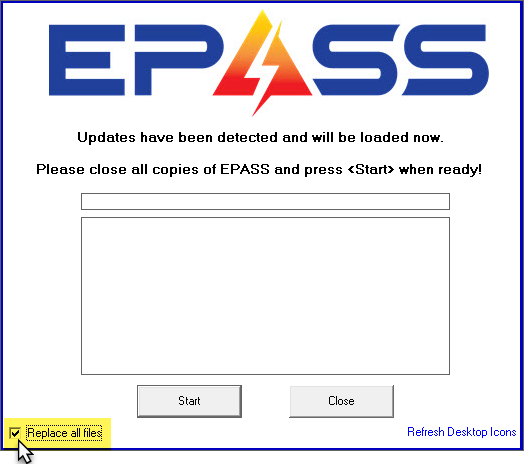
Select Replace all files, and then click Start.
-
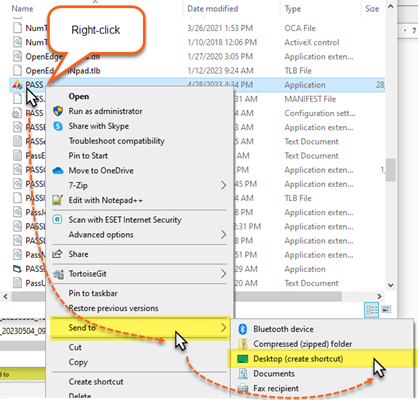
In the EPASS folder (c:\EPASS), create a shortcut for Pass.exe on the desktop.
-
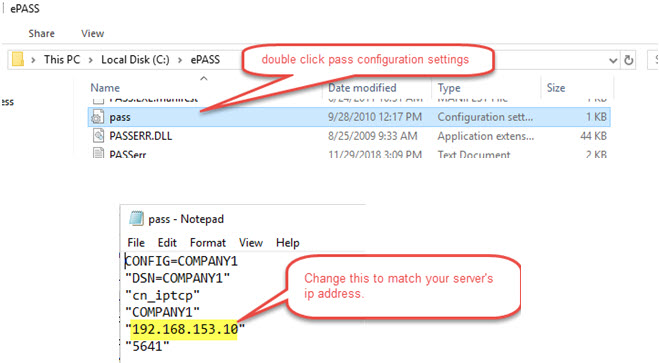
Open the pass.ini file (c:\EPASS\pass.ini) in Notepad and update the IP addresses to the server address.
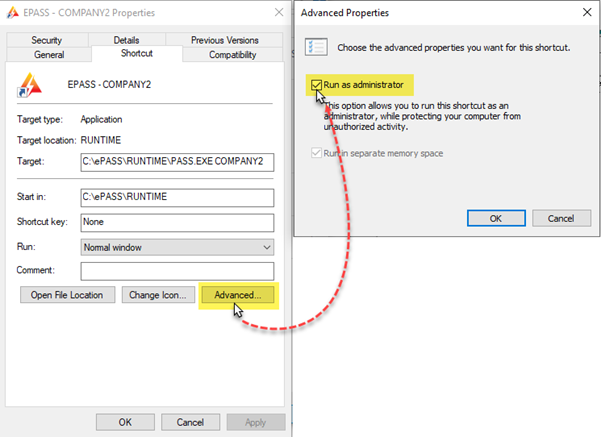
Set PASS.exe to Run as Administrator
-
In the EPASS folder (c:\EPASS), right-click PASS.exe, and then click Properties.
-
Click the Advanced tab.
-
Select Run as administrator.
Install the Carolina Barcode Font
To use barcodes, you will need to install the Carolina Barcode Font. You'll find the installer in the C:\EPASS folder on your computer. Double-click CarolinaBarcode_Full.exe to install the font.

You need to install the Carolina Barcode font on every EPASS terminal, not just the EPASS server.
Verify the Installation
If you have installed Caché 2011 or Caché 2016 and configured the ODBC, you should be able to log into EPASS.
Ensure you can log into EPASS and open the details of an invoice. If you cannot open the details, verify that the .NET installation on the computer to ensure you have all the versions needed. If you do, try restarting the computer.
See also:
- Cache 2016 Client Installation
- Cache 2011 Client Installation
- Setting Branch Terminal Settings on Shortcut
May 16, 2023